1992 corvette remover tail lights for led load resistor

Introduction :
The 1992 Corvette is more than just a vehicle; 1992 corvette remover tail lights for led load resistor it represents an iconic era where elegance and power converged seamlessly. Maintaining its excellence goes beyond routine upkeep—it’s a passionate commitment. The addition of LED tail lights not only preserves its allure but enhances its functionality, lighting up the path forward with contemporary brilliance.
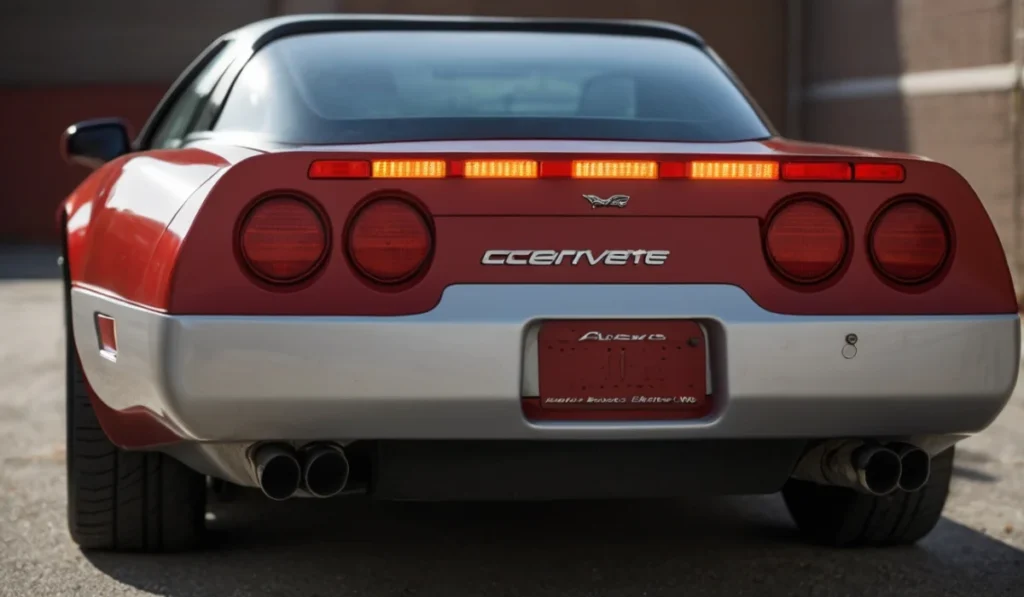
Understanding Your 1992 Corvette’s Tail Light System
The original tail light configuration in a 1992 Corvette, while classic, shows signs of age. Common problems include reduced luminosity, fluctuating brightness, and frequent bulb replacements, compromising both safety and visual appeal. The transition to LED tail lights offers a modern solution while maintaining the car’s timeless character.
Why Choose LED Tail Lights?
LED technology represents a significant advancement. These lights deliver superior visibility while consuming less power and lasting significantly longer. Picture your Corvette radiating with enhanced brilliance, its tail lights adding a modern touch to its timeless design. This upgrade represents genuine progress.
Challenges of Installing LED Tail Lights
The LED installation process presents unique challenges. Compatibility concerns often lead to hyper-flashing—an accelerated blinking pattern in turn signals that can be particularly distracting. This is where load resistors become crucial, ensuring seamless operation of your new lighting system.
What Are Load Resistors?
Load resistors effectively replicate the electrical load of traditional bulbs, ensuring your Corvette’s electrical system operates normally. They effectively prevent hyper-flashing while maintaining consistent LED performance, creating the perfect balance of style and functionality.
Tools and Materials Needed

Essential items for this upgrade include:
- Various screwdrivers and socket wrenches
- Premium LED tail lights (from respected manufacturers like Morimoto or Diode Dynamics)
- Compatible load resistors (matching your LED specifications)
- Quality electrical tape and durable zip ties
- Safety equipment including gloves and protective eyewear
Step-by-Step Guide to Removing the Tail Lights
Safety Precautions
- Ensure battery disconnection for electrical safety
- Use appropriate protective gear including gloves and eyewear
Removing the Stock Tail Lights
- Access the trunk and identify the tail light assembly mounting screws
- Carefully remove and preserve all mounting screws
- Gently extract the assembly, avoiding sudden movements
- Disconnect the existing wiring harness from the original bulbs
Installing LED Tail Lights with Load Resistors
Positioning the New Lights
- Carefully position LED lights within existing mounting points
- Connect the wiring harness to new LED units
Connecting Load Resistors
- Install load resistors according to manufacturer specifications
- Secure them properly using zip ties or appropriate adhesive materials
Wrap each connection point thoroughly with electrical tape to prevent any potential short circuits.
Testing the Installation
Restore the battery connection and activate the lighting system. Verify proper illumination levels and confirm that turn signal indicators flash at their intended frequency.
Testing and Troubleshooting
Should any lighting functions appear irregular, meticulously review all connections. Verify that load resistors are firmly mounted and examine all wiring for secure attachment. Remember that methodical attention to detail during this phase will ensure optimal performance.
Benefits of the Upgrade
Your Corvette’s new LED system delivers multiple advantages:
- A sophisticated, contemporary appearance
- Improved visibility for enhanced driving safety
- Lower power draw, extending battery performance
Maintenance Tips for LED Tail Lights
Conduct regular inspections to check for debris and moisture accumulation. Use a soft microfiber cloth with gentle cleaning solution to maintain optimal lens clarity. Include connection inspection during standard maintenance procedures to ensure continued stability.
Conclusion
Installing 1992 corvette remover tail lights for led load resistor represents more than just a mechanical upgrade; it’s an investment in both form and function. This enhancement elevates both safety standards and visual appeal, perfectly balancing classic charm with modern technology.
FAQs
Why do I need load resistors for LED tail lights?
Load resistors are essential for preventing rapid flashing by providing electrical resistance similar to traditional bulbs, ensuring system compatibility.
How do I know if my LED tail lights are properly installed?
Verify consistent illumination and proper blink patterns. Thoroughly test all lighting functions.
Can I install LED tail lights without professional help?
With proper guidance and the right equipment, this upgrade can be successfully completed as a DIY project.
What are common signs of faulty load resistors?
Watch for persistent rapid flashing, inconsistent illumination, or complete LED failure.
How long do LED tail lights typically last?
Quality LED installations can provide up to 50,000 hours of service, offering exceptional long-term value.


Post Comment